Friday, January 17, 2014

Solar Project Update #4

Sorry for the late update, work is back and time is limited once again.

Finally I got the last 2 tools I ordered online:

G.T.Power watt meter and power analyzer


UNI-T UT204A clamp meter
The G.T.Power watt meter can measure the actual power output of the solar panel. The UNI-T UT204A clamp meter can measure DC current with high amperage (for measuring total current going into the GTI).

G.T.Power in action

Measuring GTI's efficiency
Looking at above photo, this is the maximum power output I have seen so far, 330W. Using the volt led meter I mounted and the current it delivers, the input power is 19.4V x 23.27A = 451.438Watts (In DC, VA=Watts).

333W/451.438W = 0.7376 (73.76%) <- efficiency

74% efficiency is very low. My suspicion is correct that the power loss is mostly lost in the GTI. However at low output like <200W, the efficiency is more than 80%. This means that this GTI should only be used at half of its capacity at most to make its efficiency acceptable. My next plan now is to procure a second GTI, this time, I will look for a more efficient brand and has a capacity that is about twice as much as my solar array's output.

There is one more thing I want to mention which regards the cheap watt meter I bought, it's a complete waste of money! Do not buy this or its equivalent look-a-likes. It is not accurate, see the photo below:

3 watt meters connected together
As you can see, the cheap watt meter on front is way off. As of this writing, it is no longer measuring the watts correctly. It shifted to 10x the actual measurement. The 2 other watt meters are my oldest watt meter (kill-a-watt clone) and my 2nd Voltcraft energy logger, both measuring the same wattage give or take 1W.

I could no longer find a source for the kill-a-watt meter and the Voltcraft is sensitive to power surges which I could not use directly on the mains for long periods.  For now I'm using the kill-a-watt but its energy reading is lost when it is unplugged or lost power. I will be on a lookout for an alternative watt meter.

As of Jan 14, this is the current status of my power room:
added mains volt meter and ammeter
The mains volt meter and ammeter will monitor the voltage and current coming from the grid. During the maximum output of the solar array, I have to keep tabs of the current and to make it as close to zero.

Last upgrade to the power room is the exhaust system:
exhaust fans made from 2x 120mm computer case fans
The exhaust fans was installed only last Jan 15. Since I'm at work during the day, I will only know if it's effective on my next rest day this coming Saturday. It's running on 12V and is currently powered using a 1A 220V power supply. It is only using up about 3W only. Once I have an off-grid system, I could hook this up on a 12V battery system which is charged by the solar panels.

Sunday, January 5, 2014

Solar Project Update #3

Last Jan 3 I went back to Raon to find some needed items for the project as well as have my watt meter repaired. I found cheaper sources of circuit breakers and MC4 connectors there and found the terminal bus bar I was looking for.
terminal ratchet crimping tool
The terminal bus bar is used to connect multiple wires without twisting them together or soldering them. I will use this to both positive and negative of the solar array until the circuit breakers arrive.
terminal bus bar
I have the yields for Jan 3-4 and here they are:
Jan 3 = 1.8327kwh
Jan 4 = 1.8458kwh
They were much better than on the first day which is only 1.454kwh.
Unfortunately, I still have not seen the array produce more than 300W during mid-day even tho the solar panels have the capacity of 600W, that's a loss of a little more than 50%. This is something I'm disappointed and until the rest of the tools I ordered arrived, I won't be able to do a through check to find where the losses are coming from.

TO DOs:
I also still need to work out the ventilation for the power room, it is unbearably hot there during the day.
To summarize the things to do:
1. Panel board permanent fixtures
2. Power room ventilation
3. Improve efficiency of the solar array

ROI:
Here are the assumptions:
yield = 1.8kwh/day
grid cost = 13 php/kwh
cost of solar system = about 50k php.

1.8 kwh/day x 30day/mo = 54 kwh/mo
54 kwh/mo x 13 php/kwh = 702 php

702 php/mo is how much the array is producing per month assuming all days are sunny days.

50,000php / 702php/mo =  71.225 mo
71.225 mo / 12mo/yr = 5.9 yrs

ROI (return of investment) will take more than 6 yrs for the system to pay for itself but this is assuming all days are sunny days so it will take longer. However, if the utility company increases the cost to 17 php/kwh, the ROI will drop to only 4.5 years.

Since this is a grid tied system, the ROI is computed based on the assumption that all the energy produced by the solar array is consumed and no excess is sent back (exported) to the grid. Just to give you an idea how net metering is implemented in Philippines, the value you export to the grid is worth only about half of what you consume from the grid. So if say you consume 10kwh during the night, you'll need to export 20kwh during the day just to break even on the bill.

For more information about net metering here in Philippines, please read this free PDF guidebook:
Download from this mirror link in case the primary link is down.


Thursday, January 2, 2014

Solar Project Update #2

Continuing where I left...

It is Dec 30 morning and I went up the roof to see the progress and I saw 5 panels mounted exactly to my specifications:
5 solar panels mounted on an elevated iron rail. 
The 6th panel wasn't mounted yet until the wiring has been laid down because the wiring entry lies below the 6th panel (shown in above photo). I asked to placed it under as the wires we used isn't meant for outdoors so it can be protected from direct sunlight.

After a while, we've started laying down the wiring from the solar panel. To connect from the solar panels, you need to use a standard connector called an MC4.
MC4 connectors
We used a stranded 2.0 sq. mm wire (AWG#14), I think is was too thin but this is what we have in my dad's stock. Looking up the current limit of AWG#14, it current capacity is 5.9Amps which is just enough for each of our solar panel. We also have only one color which is red so I used a marker to mark each end to identify which is which.
AWG#14 wire with MC4 on one end and laid to ground
All the wires needs to be threaded in the conduit on one go so they needed to be tied up and once it was done my dad went to the roof with the bare end of the wires and I went to the attic to catch the wires through. Once it's done, the wires were inserted in a plastic orange flexible tubing. The end of the wire stops in the proposed power room. The 6th solar panel was installed shortly.
wires connected to the solar panel
We also laid out a pair of AWG#10 wire from the grid main distribution box and connected to a pair of circuit breakers. These wires were also inserted to a plastic orange flexible tubing. The end of the wire stops in the proposed power room. This will be where the output of the GTI will be connected. It is late afternoon already so we call it a day.

Dec 31, it is new year's eve but we still worked on the project. I still do not have yet the needed equipment for the power room like the disconnect switches, etc. I ended up ordering them online as finding them locally will take some time and I have to wait out the entire holidays, and I can't wait for it. I also ordered online the much needed DC current clamp meter. Both will be shipped via express shipping. So while the equipment arrives, we rigged a temporary connection. Luckily, everything is available except for an AC outlet and its cover so I went out on a holiday and fortunately, there is an open family hardware store which sells them and I bought it.

GTI finally connected (temporarily) to the solar panels
By mid afternoon, we have completed the circuit. I went back to the roof and took this photo:
Roof mounting is complete

That night, fireworks have began. I went back to the roof near the solar panels near 12 midnight and shot this video:
Happy New Year!!


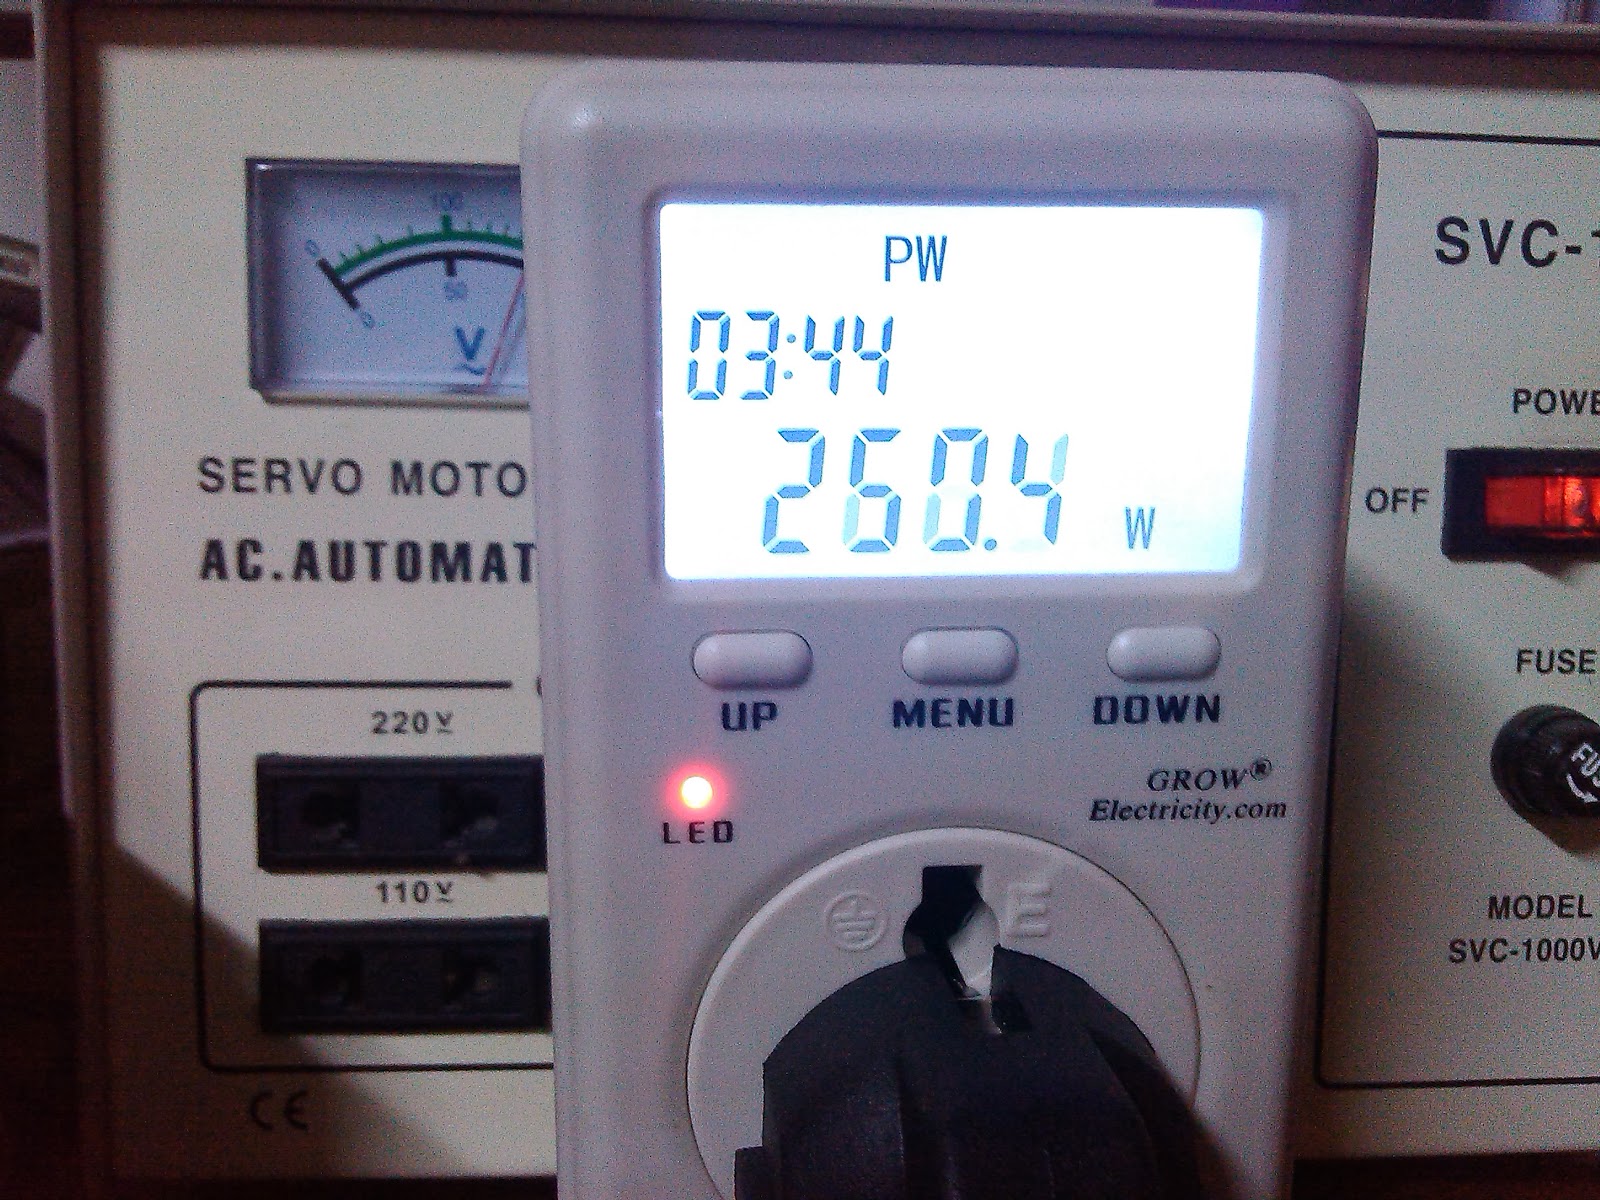
January 1, new year's day and it's the first day the grid tied solar array system went online for a whole day and I monitored the power output using the watt meter:
Watt meter measuring 260W output power during mid day.
Here's the monitored power output throughout the day:
6:45am  17w
7:00am  46w
8:00am  156w
9:00am  211w
10:00am  242w
10:30am  260w
11:13am  267w
11:30am  280w
12:40pm  262w
1:00pm  236w

Total energy produced for Jan 1 was 1.454kwh

Jan 2, today, I used my other watt meter instead, the Voltcraft brand. By noon, during it's peak output power. I noticed the watt meter is displaying 0 output and the GTI is not recycling, usually it recycles in 1-2 secs after it detected a change in solar output. I turned off the GTI and back on and then it recycled. Seeing that is was unusual, I simulated a power outage by turning off the AVR (automatic voltage regulator) where the GTI output and watt meter is connected and turning is back on. I got startled when I heard a weak 'pop' in the watt meter and the display did not turn on. Guess what, the watt meter is busted! My guess this Voltcraft meter does not like power surges, it was damaged one time during its warranty period and I got it back repaired. I will try to have it repaired again this time out of warranty. Fortunately, nothing else is damaged so I installed back the cheap watt meter and put the GTI back online.

Due to that incident, I have no output data for today.

I will make another update once new equipment have arrived or there is new progress.