From hereon, I'll be completing the assembly in non-linear as opposed to sequential steps as provided in the construction manual. Basically I will build all the modules first then do the module integration next and finally the sealing of the screw ports. I will also do some detailing in between assembly so some modules could be delayed much later than the other modules (i.e. the Macross City).
Fast forward to step 53...
 |
| Steps 48-55 |
Step 53 starts the building of the SDF-1's primary weapon which is also its bow section.
 |
| Step 53 completed (module 53) |
On step 55, 2
neodymium magnets are to be installed on part P07-4 and P07-2. Note carefully how they are to be installed, it should be mounted on opposite poles so that they will stick together and not repel. It will not be easy to remove them once installed so check the polarity prior to installation.
 |
| Neodymium magnets installed. |
Warning on neodymium magnets, these are very strong magnets (so called super magnets). You must never let it leave in the open or put it too close with each other (except if they are already attached to each other). This is because it could fly and stick to the other neodymium magnet and it could shatter or hurt you if you're holding the other magnet.
The four neodymium magnets were attached to each other in one plastic bag. To separate one out, use a metal knife to 'slice' one magnet off. Metal knife is used to lessen the attraction of the magnet to stick back to each other. You'll then have 3 magnets sticking on one side of the knife and one on the other side. Slide out the 3 magnets while holding the other magnet in place. Once the 3 magnets is separated from the knife (keep holding the knife), put it in an empty film canister like the ones I used to keep the screws (better prepare this before doing the 'slicing'). Slide out the remaining magnet on the knife and install it. Repeat the same task for one more magnet.
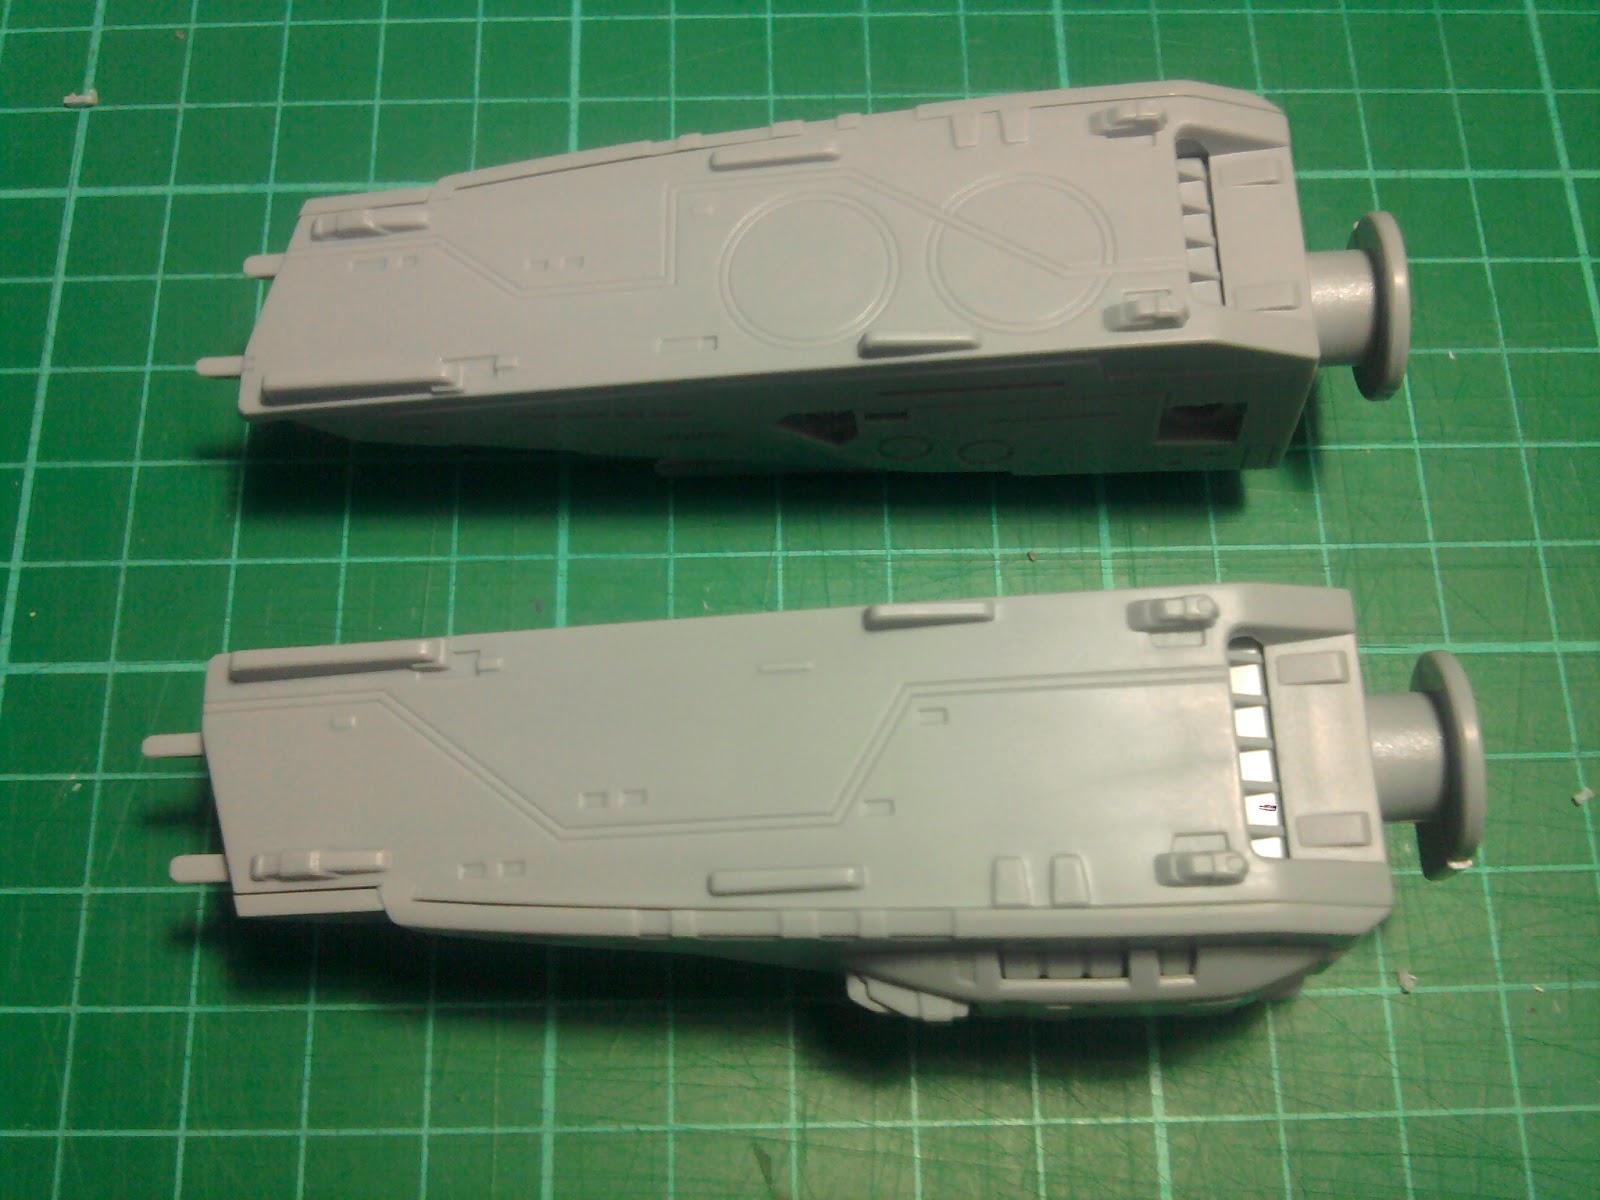
Note on step 54, part P11-9 has a hook and will seal screws. It will not be easy to remove it once in place. I recommend not to fully snap it on until the finishing stages.
 |
| Steps 56-63 |
 |
| Steps 54-56 completed (module 56) |
 |
| Module 56 bottom view |
Note on the photos above, if I move them a little bit closer together, the magnet will pull them together. That's how strong the neodymium magnets are.
 |
| Step 57 completed (module 57) |
Note on step 57, you need to test if each pair can make a quarter twist against module 56. If there seems to be an obstruction, you'll need to open it again and shave off the excess plastic where the runners used to be attached from module 56. I used a hobby knife to do this.
Last step done for the day is step 58 which connects module 57 to module 53. Each side has 2 panels which are easily removable so you can attach it now and can still disassemble it. This is joint part where you need to disassemble if you want the optionally swap the damaged cannon bonus resin part.
 |
| Step 58 completed |
Assembly status: 34 out of 70 steps (about 48% complete)